
Snowman is one of the most charming icons of Christmas. Building a snowman is always a fun and amusing experience for kids.

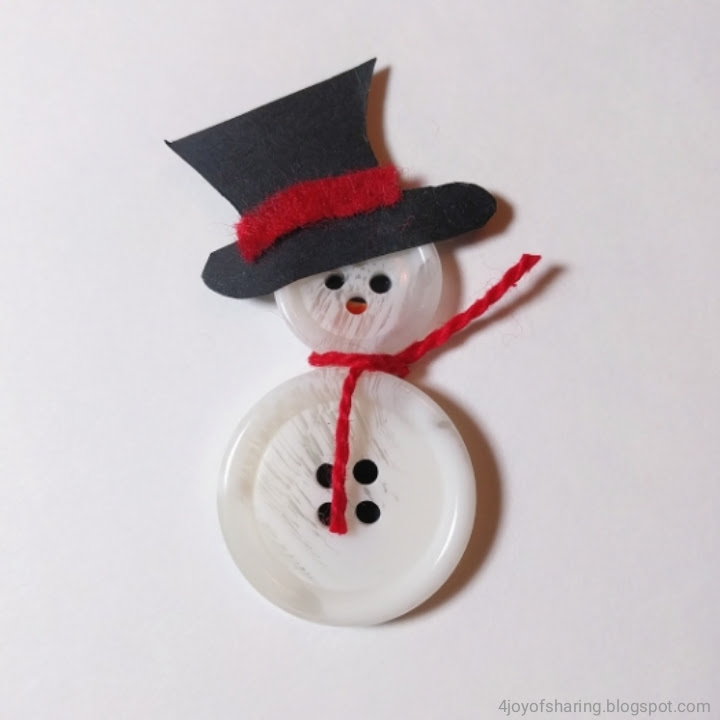
I made this lovely snowman lapel pin with my daughter using buttons. This is a perfect Christmas gift from my daughter to her dad.
RELATED >> POPSICLE STICK PENGUIN

This post contains affiliate links to the products mentioned. Read our disclosure policy for more information.
This craft goes so well with the book Frosty the Snowman. My daughter loves to read this book with her very own snowman with a magic hat :)


SUPPLIES
INSTRUCTIONS
1. Cut a strip of white cardstock paper. And make blocks of black and orange color as shown below.
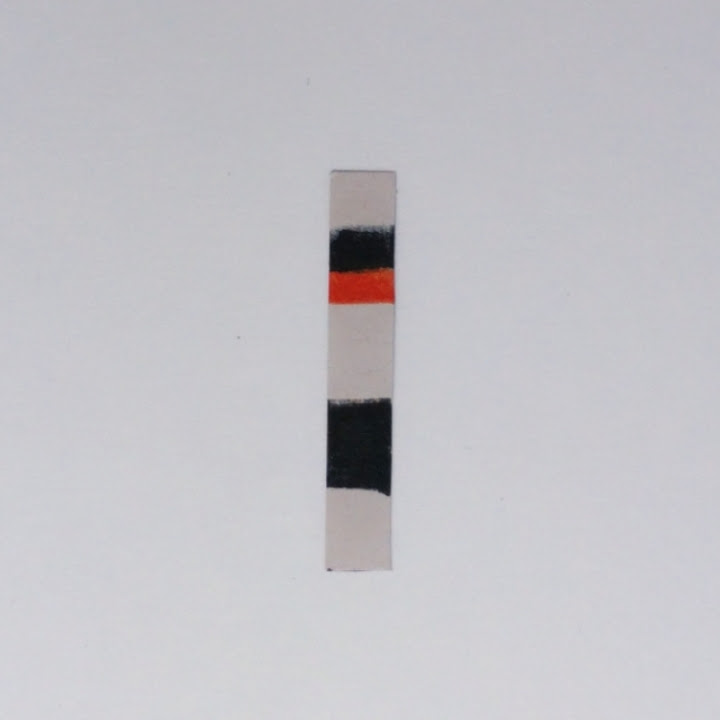
Note: Adjust the spacing between the color blocks based on the size of the buttons. The idea is to fill the buttonholes with these colors to make the eyes, nose, and buttons of the snowman.
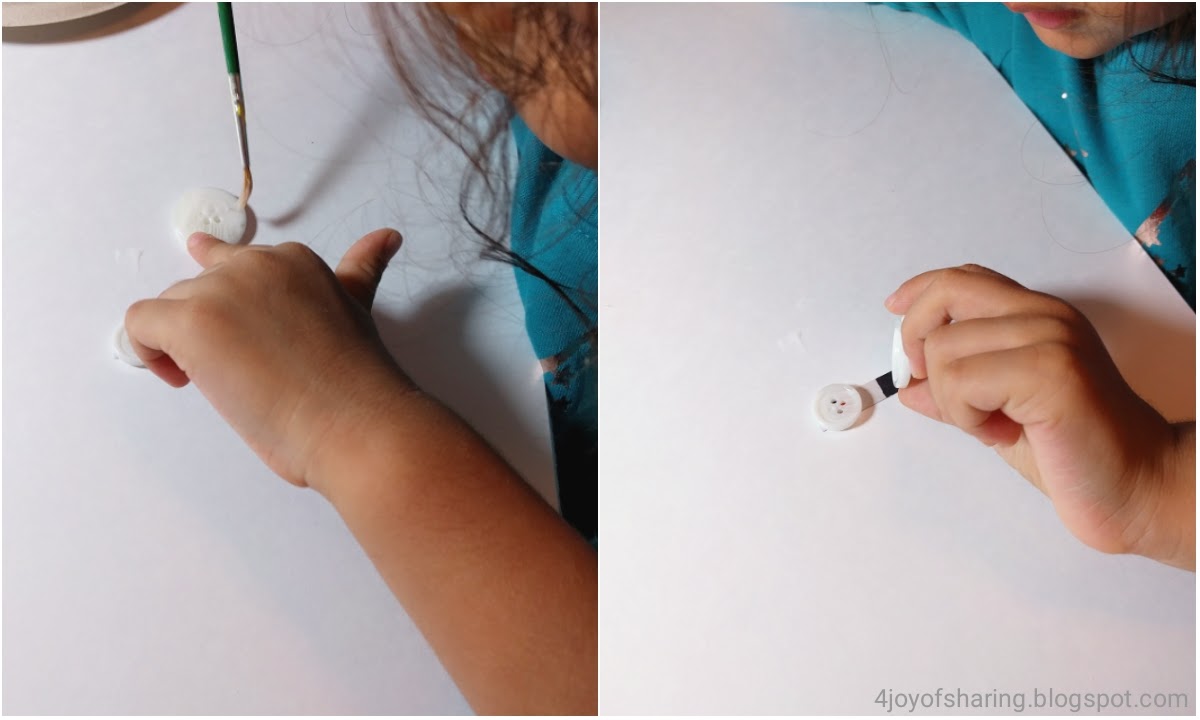
2. Glue a small button over the black & orange color block such that black color fills the two holes in the button making the eyes of the snowman and the orange color fills the one hole making the nose of the snowman.

3. Glue a big button over the next black block such that it fills all the holes of the button. You might notice in the pictures below that my daughter is using a brush to apply glue on the buttons. I feel it is much more convenient for her and great for fine motor development.
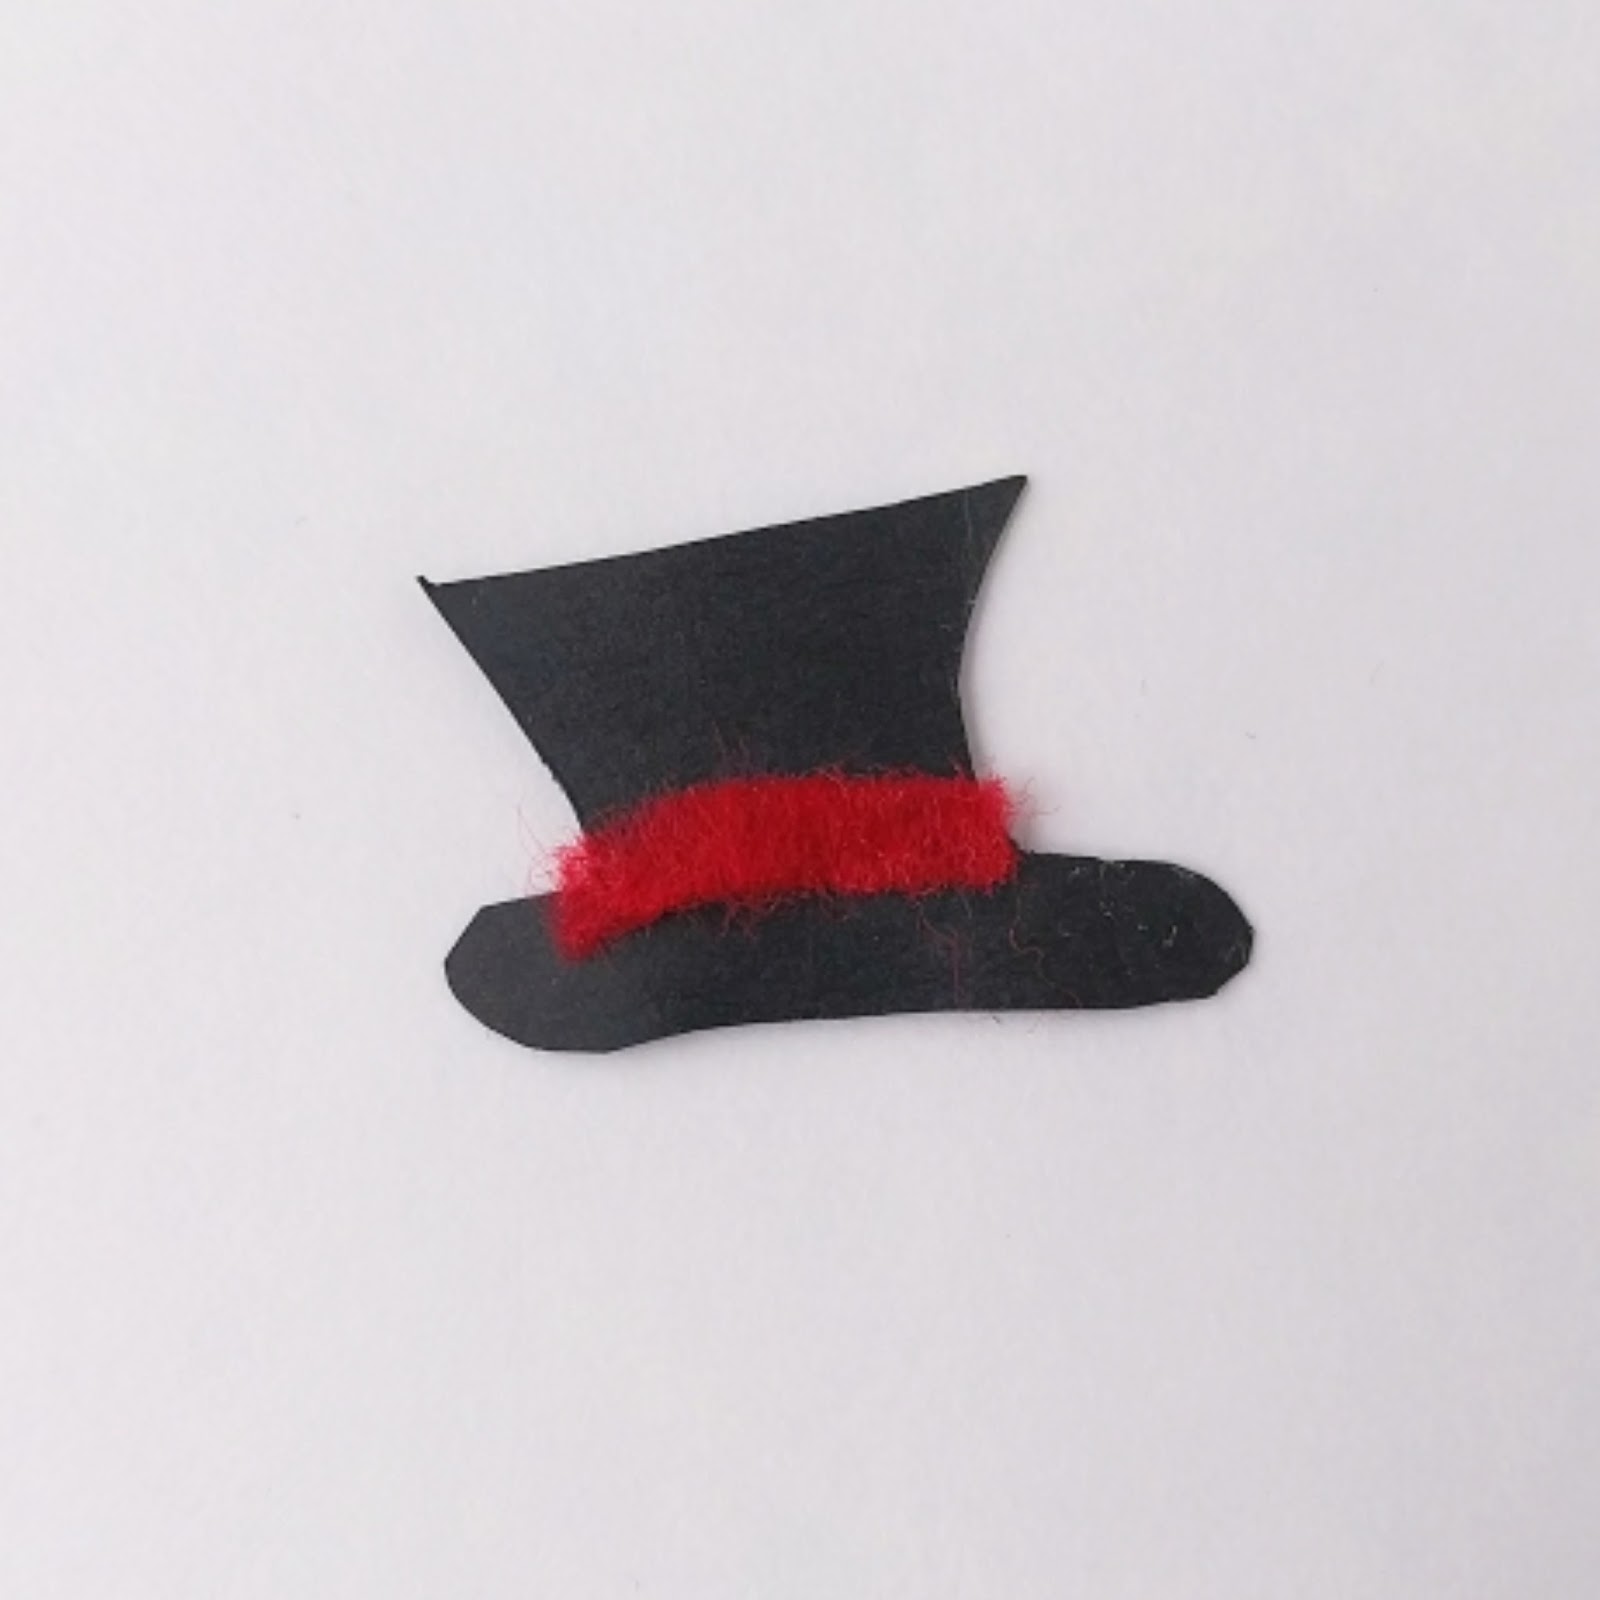
4. Cut out the shape of the hat from black cardstock paper and add a red felt or paper ribbon to it.
5. Glue the hat on the small button covering the remaining one hole.
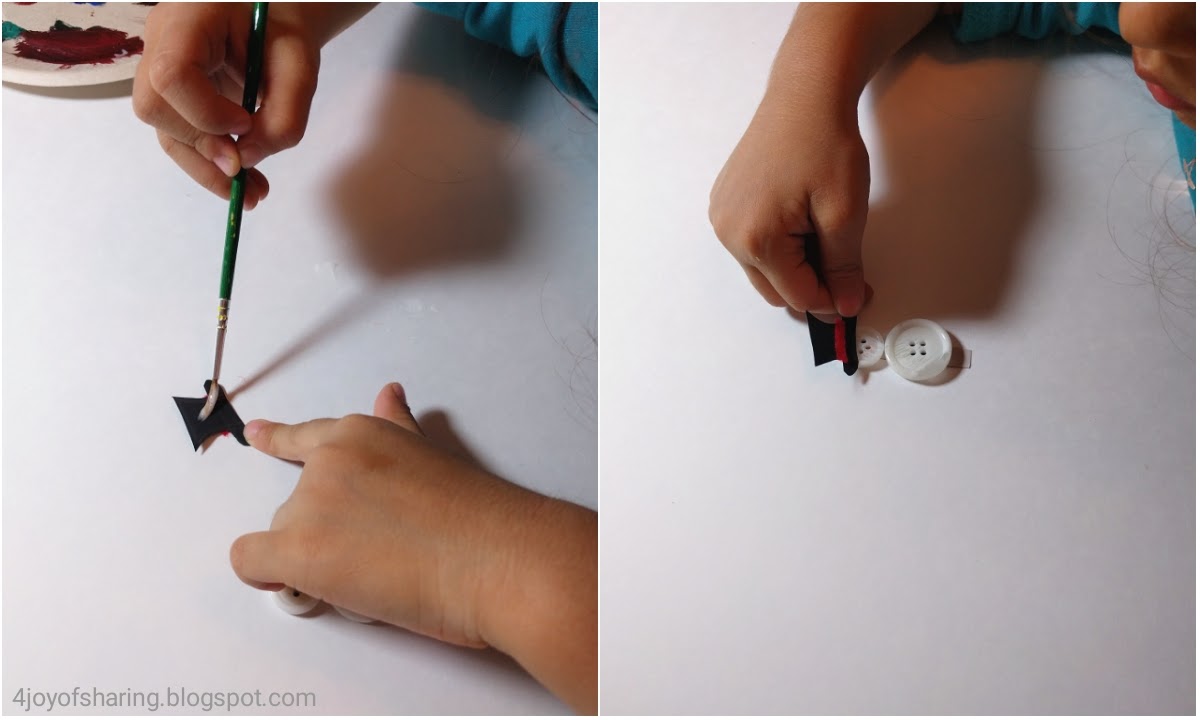
6. Tie a red thread around the neck.
7. Attach a safety pin to the back using hot glue. Please don't involve younger kids in this step for safety.

And your kid-made lapel pin is ready. Here is how it looks on my husband's blazer! :)

If you're looking for easy Christmas crafts for preschoolers and toddlers, do check out our list of 30+ Christmas Crafts for Kids.

Looking for more kid-made Christmas gift ideas? Look no further!
This post is part of a wonderful week-long Christmas gift series hosted by Nadia at Teach-me-Mommy. Do check out all the lovely Christmas gift ideas shared in the series here to find your own inspiration!
These are some really sweet Christmas gift ideas for family and friends. You will also find easy and cute homemade gifts for teachers at the end of the year.
You can start with this lovely Christmas Tree Handprint Keepsake by Teach me Mommy or beautiful Stamped Clay Dishes by Project with kids.

Happy Christmas Crafting!!
YOU MIGHT ALSO LIKE:
I made this lovely snowman lapel pin with my daughter using buttons. This is a perfect Christmas gift from my daughter to her dad.
RELATED >> POPSICLE STICK PENGUIN
This post contains affiliate links to the products mentioned. Read our disclosure policy for more information.
This craft goes so well with the book Frosty the Snowman. My daughter loves to read this book with her very own snowman with a magic hat :)

HOW TO MAKE SNOWMAN CRAFT?
SUPPLIES
- Buttons (one small and one big)
- Cardstock Paper (black, white)
- Felt Sheet (red)
- Sharpie Markers (orange & black)
- Red Thread
- Glue
- Hot Glue Gun
- Safety pin
INSTRUCTIONS
1. Cut a strip of white cardstock paper. And make blocks of black and orange color as shown below.
Note: Adjust the spacing between the color blocks based on the size of the buttons. The idea is to fill the buttonholes with these colors to make the eyes, nose, and buttons of the snowman.
2. Glue a small button over the black & orange color block such that black color fills the two holes in the button making the eyes of the snowman and the orange color fills the one hole making the nose of the snowman.
3. Glue a big button over the next black block such that it fills all the holes of the button. You might notice in the pictures below that my daughter is using a brush to apply glue on the buttons. I feel it is much more convenient for her and great for fine motor development.
4. Cut out the shape of the hat from black cardstock paper and add a red felt or paper ribbon to it.
5. Glue the hat on the small button covering the remaining one hole.
6. Tie a red thread around the neck.
7. Attach a safety pin to the back using hot glue. Please don't involve younger kids in this step for safety.
And your kid-made lapel pin is ready. Here is how it looks on my husband's blazer! :)
If you're looking for easy Christmas crafts for preschoolers and toddlers, do check out our list of 30+ Christmas Crafts for Kids.
Looking for more kid-made Christmas gift ideas? Look no further!
This post is part of a wonderful week-long Christmas gift series hosted by Nadia at Teach-me-Mommy. Do check out all the lovely Christmas gift ideas shared in the series here to find your own inspiration!
These are some really sweet Christmas gift ideas for family and friends. You will also find easy and cute homemade gifts for teachers at the end of the year.
You can start with this lovely Christmas Tree Handprint Keepsake by Teach me Mommy or beautiful Stamped Clay Dishes by Project with kids.
Happy Christmas Crafting!!
YOU MIGHT ALSO LIKE:
 DIY Christmas Ornaments DIY Christmas Ornaments | 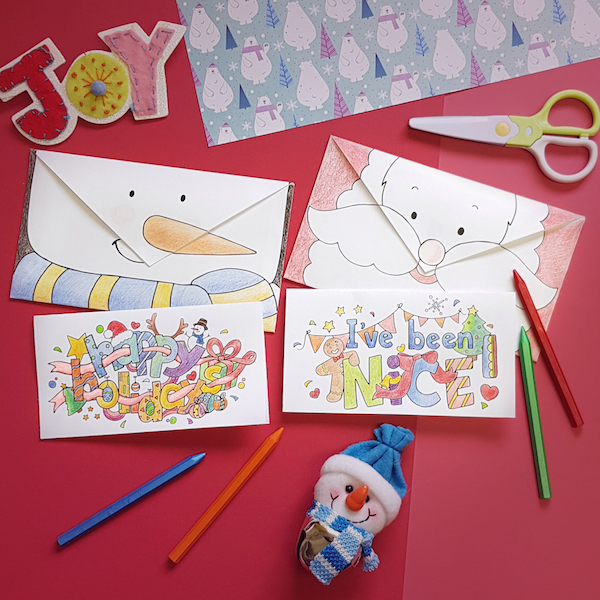 Christmas Cards Christmas Cards | 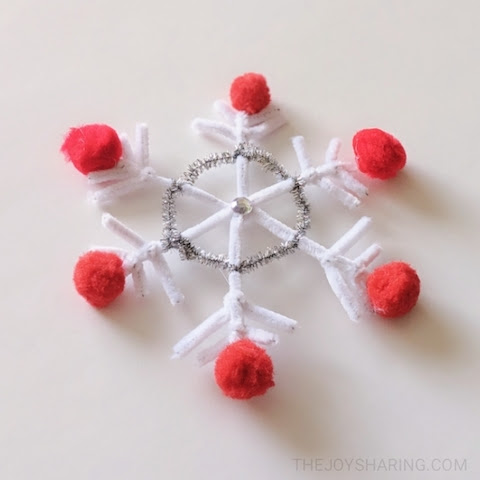 Pipe Cleaner Snowflakes Pipe Cleaner Snowflakes |
This is so cute! Thanks for sharing it as part of our series!
ReplyDeleteThanks Nadia! I am so glad that you liked it. Looking forward to see all the lovely ideas this week!!
Delete